How Do I Set Up Scheduled Triggers in an Agent?
Last updated: April 1, 2026
A scheduled trigger fires your agent automatically on a recurring schedule or at a specific time -- no manual message needed. Set one up from the Triggers section on your agent's config page, or tell the agent directly in chat.
Setting Up a Recurring Scheduled Trigger
Open your agent and go to the Triggers section on the config page.
Click + Trigger and select Scheduled Trigger.
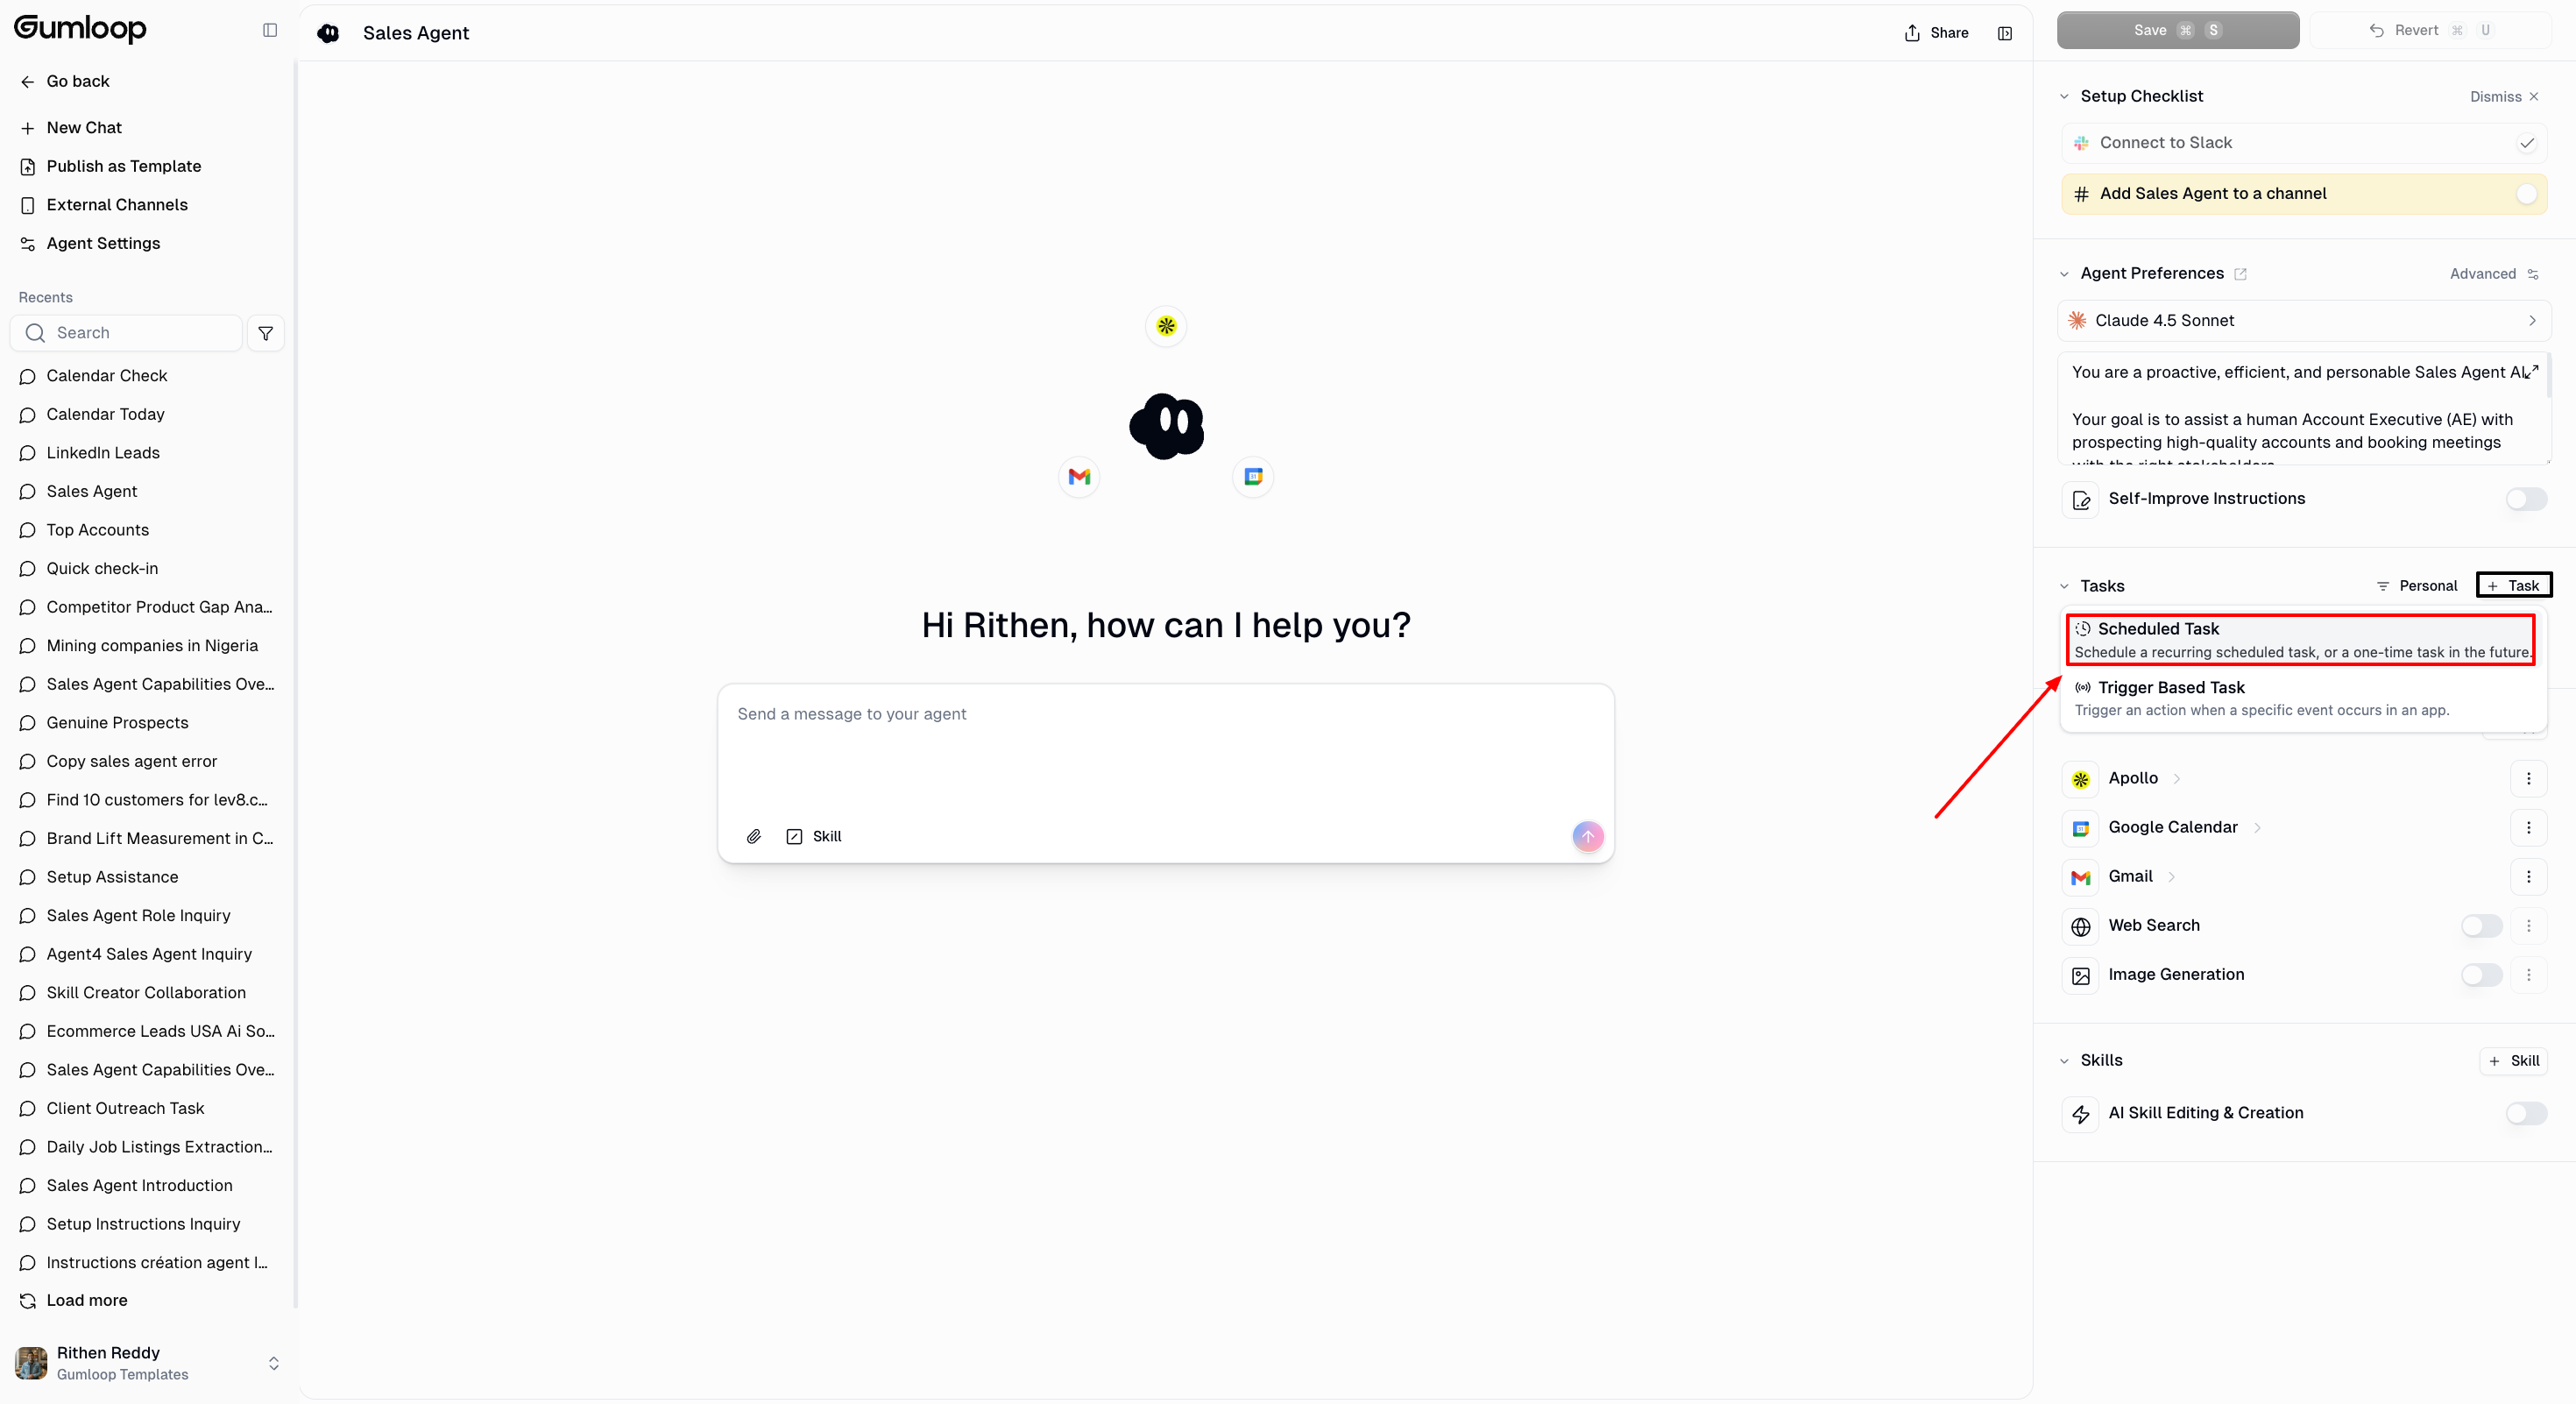
Fill in three fields:
Name -- a label for your own reference.
Schedule -- describe the cadence in plain language (e.g., "every weekday at 9am"). The AI converts it to a cron expression for you. No cron syntax needed.
Prompt -- the message your agent receives when the trigger fires. See the Writing a Good Trigger Prompt section below.
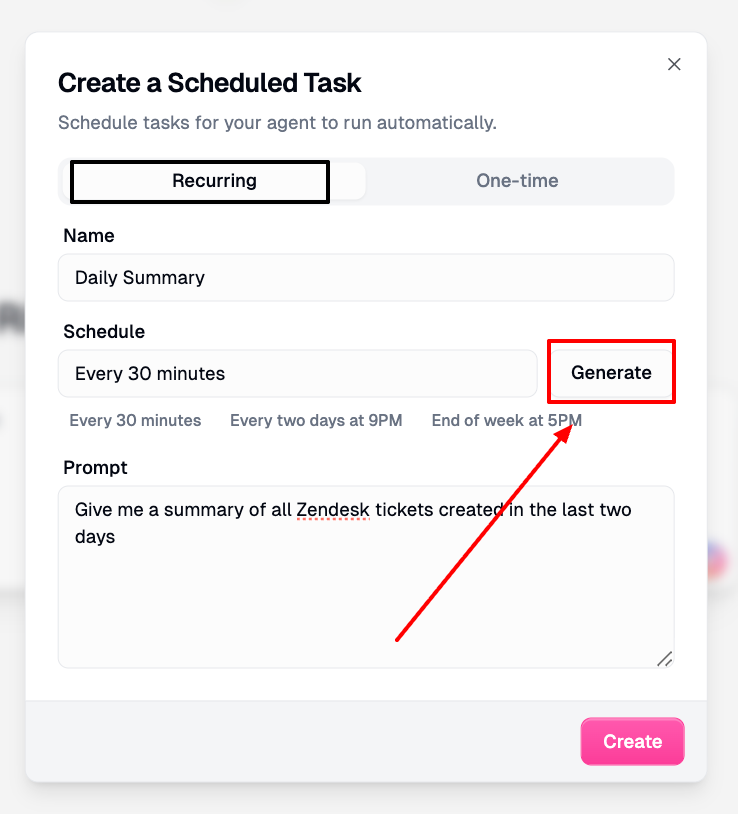
Click Create. The trigger is immediately active.
The minimum interval is 1 minute. The schedule uses your browser's timezone by default.
Setting Up a One-Time Trigger
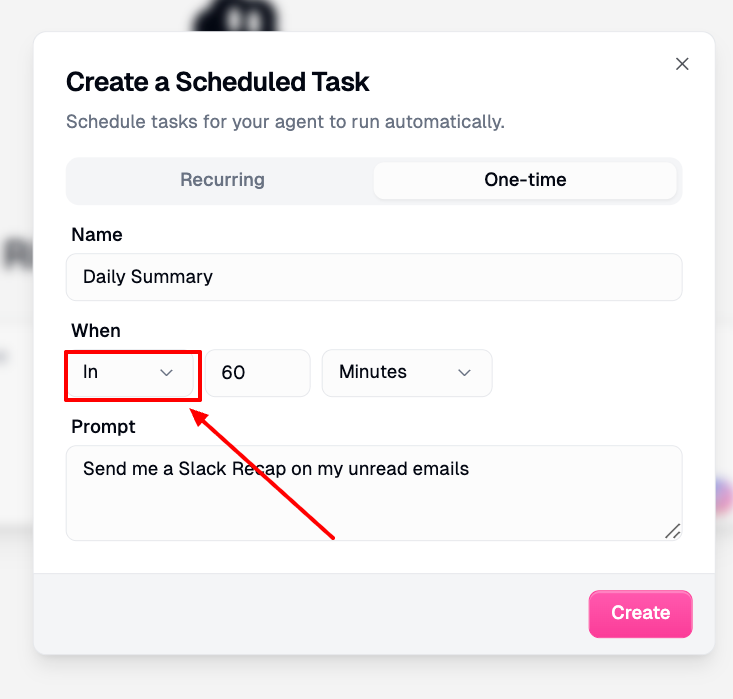
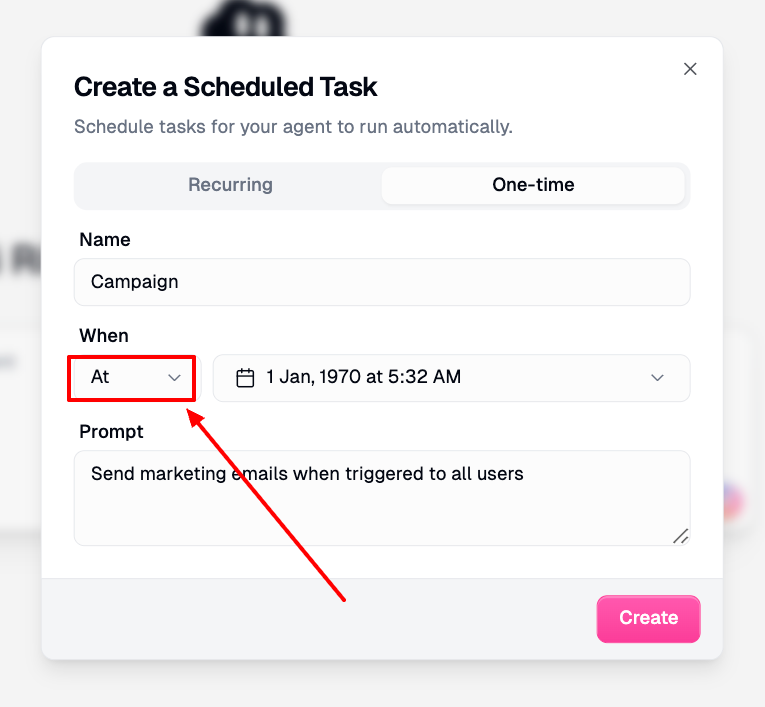
Follow the same steps above, but choose the one-time option instead of recurring. You have two sub-modes:
Relative -- "in 30 minutes", "in 2 hours"
Absolute -- pick an exact date and time
One-time triggers are automatically deleted after they execute, whether they succeed or fail.
Writing a Good Trigger Prompt
The trigger prompt is what your agent receives when the trigger fires. Think of it as a message you'd send in chat. It is NOT where you configure agent behavior -- that belongs in the system prompt and skills.
Your agent has no memory of previous scheduled runs. Each execution starts fresh. Write explicit scope every time instead of relative references.
Good Prompt | Bad Prompt |
"Give me a summary of all Zendesk tickets created in the last two days." | "Check tickets." |
"Check my Gmail for unread client emails, summarize them, and post to #client-updates in Slack." | "Do the usual thing." |
"Read rows 1-20 of the Google Sheet and flag any missing values." | "Read the next ten rows." |
If your agent has a relevant skill, reference it in the prompt so the agent knows which pattern to follow.
Letting the Agent Schedule Triggers Itself
You can tell your agent directly in conversation to create, update, or delete its own scheduled triggers whether on the web or in Slack.
Prerequisite: Enable AI Trigger Editing & Creation under your agent's Triggers settings. Without this toggle on, the agent will deny scheduling requests.
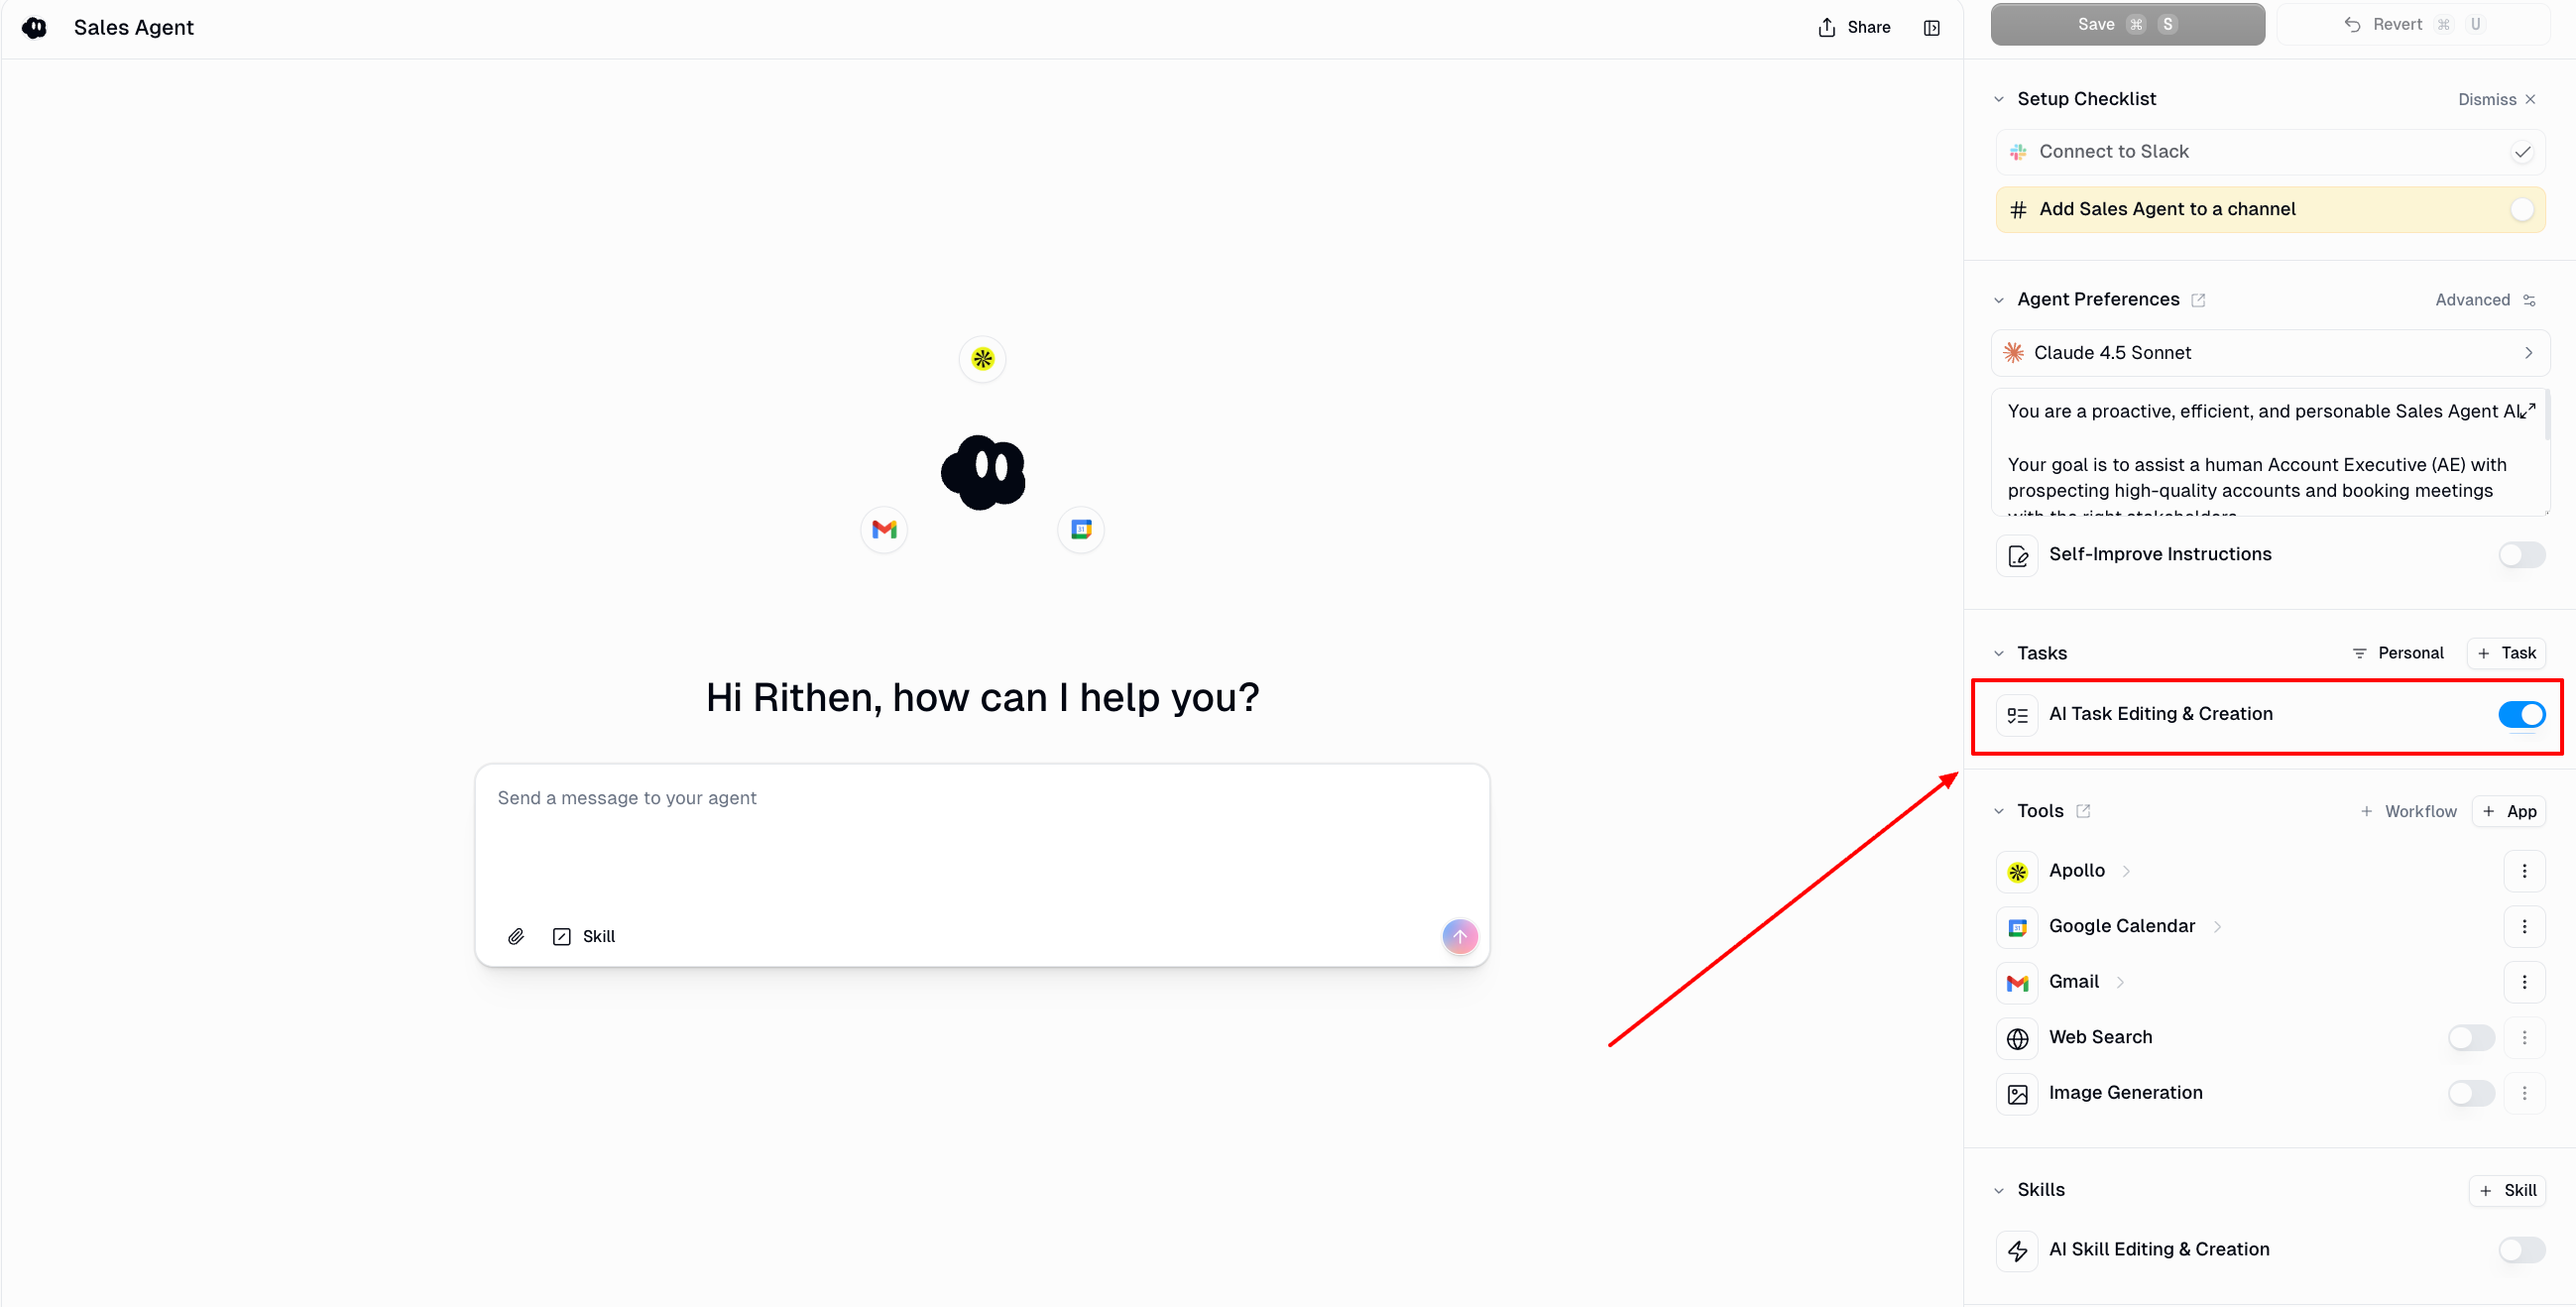
Once enabled, just tell the agent what you need:
"Run this check every morning at 9am."
"In 30 minutes, check if the deployment succeeded."
"Cancel my daily email summary trigger."
The agent can only manage its own triggers -- it cannot create or edit triggers on other agents. Event-based integration triggers (e.g., "when a new email arrives") still need to be set up manually.
Managing Existing Triggers
Click any trigger in the Triggers section to edit it.
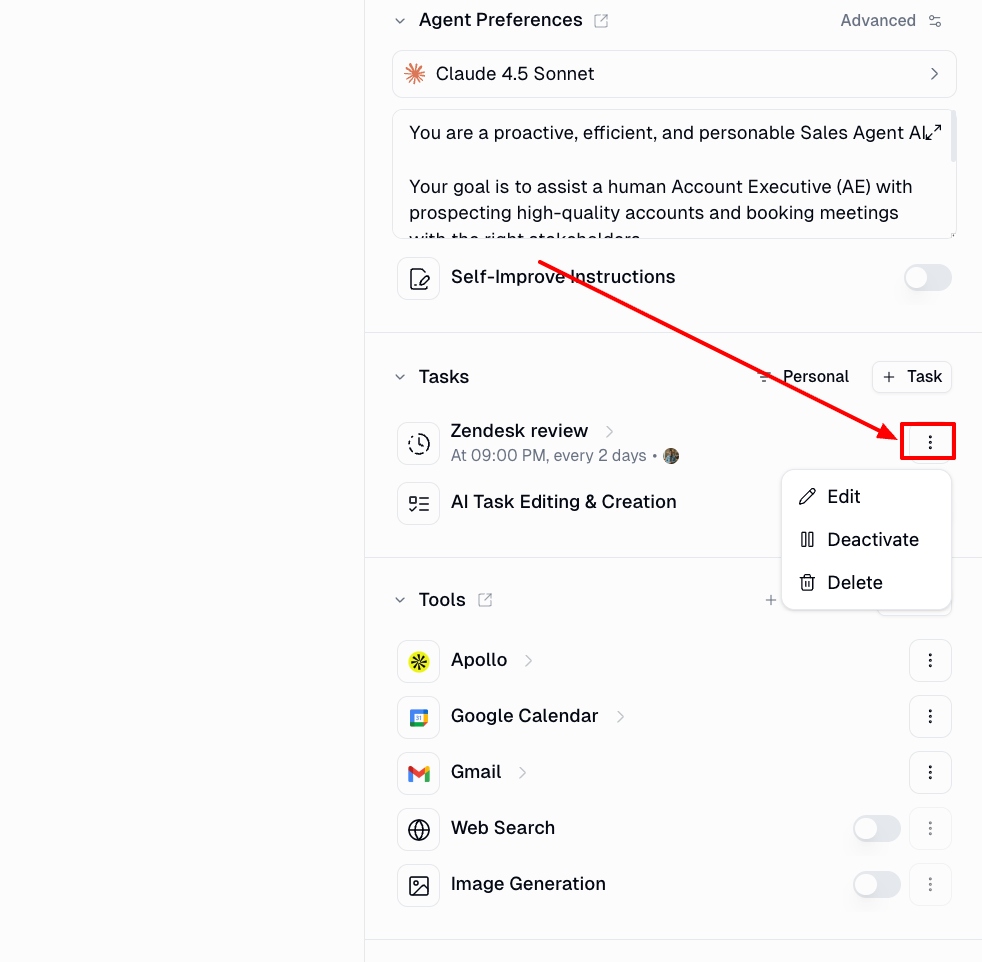
Use the three-dot menu (...) to enable, disable, or delete a trigger.
You cannot convert a recurring trigger to one-time (or vice versa). Delete it and create a new one.
For anything else, reach out at support@gumloop.com or in the shared Slack channel.